Git for DevOps Engineers
⭐ Day 08 (Part-1) of #90DaysofDevOpsGit for DevOps Engineers
Hi Everyone, welcome to Day 08 of the #90DaysofDevops learning journey. In this article, we will cover what is version control and its types. Learning what is GIT and its importance and how to install GIT on a Windows machine. Let's get started...
🔶What is Version control?
Version Control, also known as Source Control, is tracking and managing software code changes. Version control systems are software tools that help software teams manage changes to source code over time. As development environments have accelerated, version control systems help software teams work faster and smarter.
For DevOps teams, it is very helpful because they enable faster deployments and shorter development times. Version control is a component of software configuration management.
Every change to the code is recorded by version control software in a particular form of a database. If a mistake is made, programmers can go back in time and review prior iterations of the code to help fix it while causing the least amount of interruption to the entire team.
Teams of software developers are constantly writing new source code and updating existing source code. A folder hierarchy or "file tree" is generally used to organize the code for a project, application, or software component. Each developer may make modifications in different locations within the file tree, so one developer may be working on a new feature while another developer edits the code to address an unrelated bug.
Version control helps teams solve these kinds of problems, tracking every individual change by each contributor and helping prevent concurrent work from conflicting.
There are two types of version control: centralized and distributed.
🔴 Centralized version control system (CVCS)
A centralized version control system (CVCS) is a type of VCS where all users are working with the same central repository. This central repository can be located on a server or a developer's local machine. Centralized version control systems are typically used in software development projects where a team of developers needs to share code and track changes.
🔴 Distributed version control system (CVCS)
A distributed version control system (DVCS) allows users to access a repository from multiple locations. DVCSs are often used by developers who need to work on projects from multiple computers or who need to collaborate with other developers remotely.
🔶 What is Git?
Git was also created by Linus Torvalds in the process of developing Linux. Git is a distributed version control system (VCS). It maintains a history of all changes made to the code. The changes are stored in a special database called “repository”, also known as “repo”.
Git is a free and open-source distributed version control system (VCS) designed to handle everything from small to very large projects with speed and efficiency.
GIT, which stands for Global Information Tracker, is a powerful and widely-used version control system commonly used for software development and other collaborative projects.
🔶 Importance of Git
Better collaboration: In a DVCS, every developer has a full copy of the repository, including the entire history of all changes. This makes it easier for developers to work together, as they don't have to constantly communicate with a central server to commit their changes or to see the changes made by others.
Improved speed: Because developers have a local copy of the repository, they can commit their changes and perform other version control actions faster, as they don't have to communicate with a central server.
Greater flexibility: With a DVCS, developers can work offline and commit their changes later when they do have an internet connection. They can also choose to share their changes with only a subset of the team, rather than pushing all of their changes to a central server.
Enhanced security: In a DVCS, the repository history is stored on multiple servers and computers, which makes it more resistant to data loss. If the central server in a CVCS goes down or the repository becomes corrupted, it can be difficult to recover the lost data.
🔶How to install Git on Windows?
Browse the official Git website: https://git-scm.com/downloads
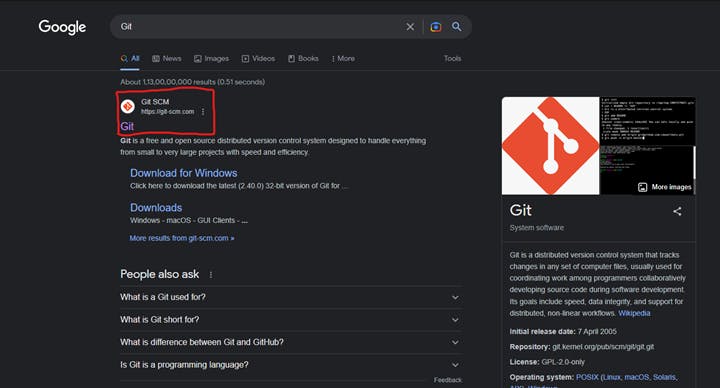
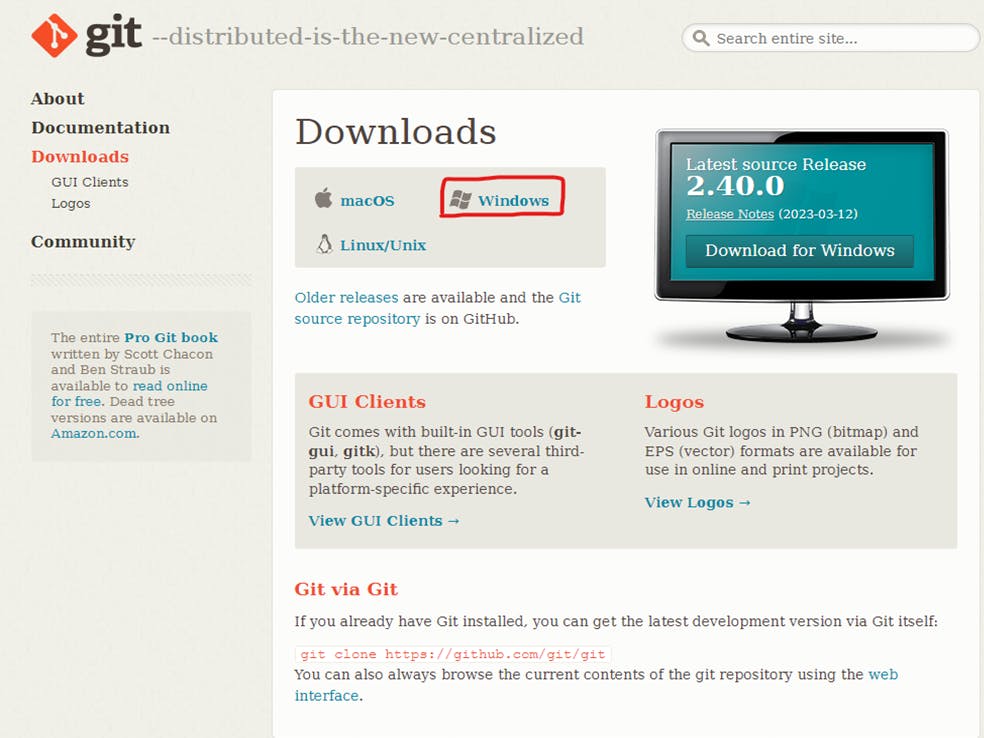
Click the download link for Windows and allow the download to complete.
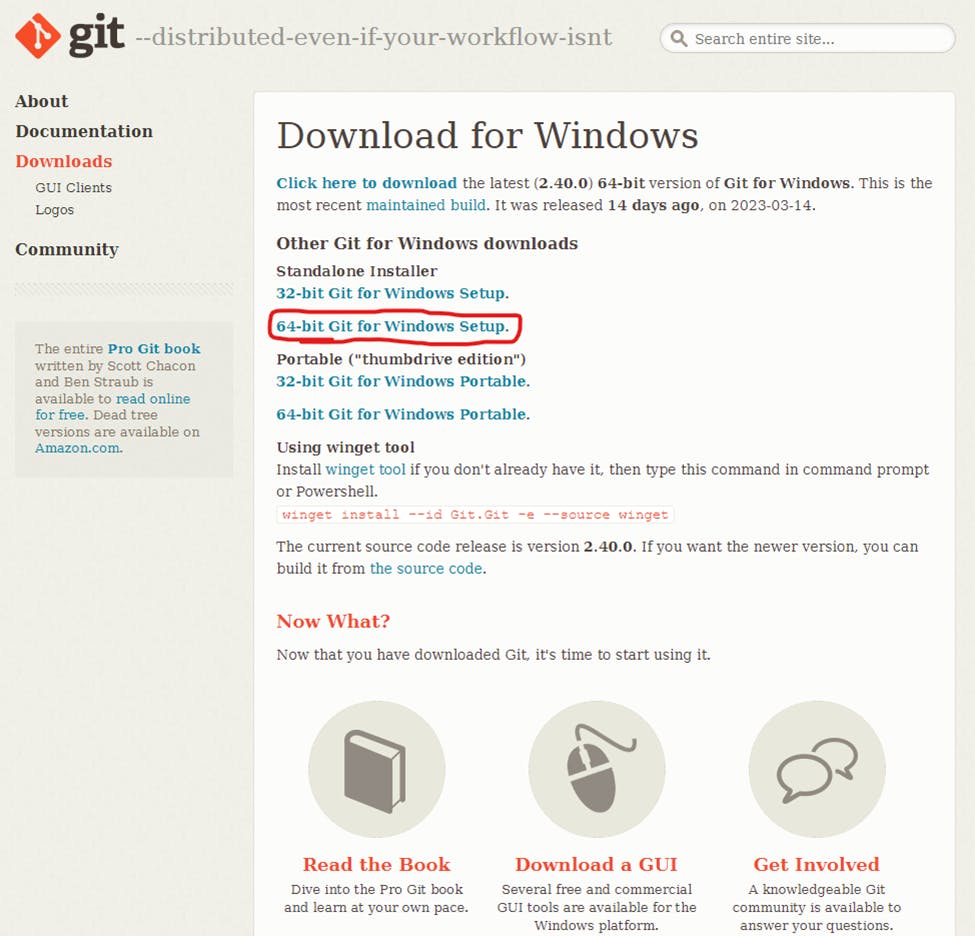
Browse to the download location (or use the download shortcut in your browser).

Allow the app to make changes to your device by clicking Yes on the User Account Control dialog that opens.
Review the GNU General Public License, and when you’re ready to install, click Next.
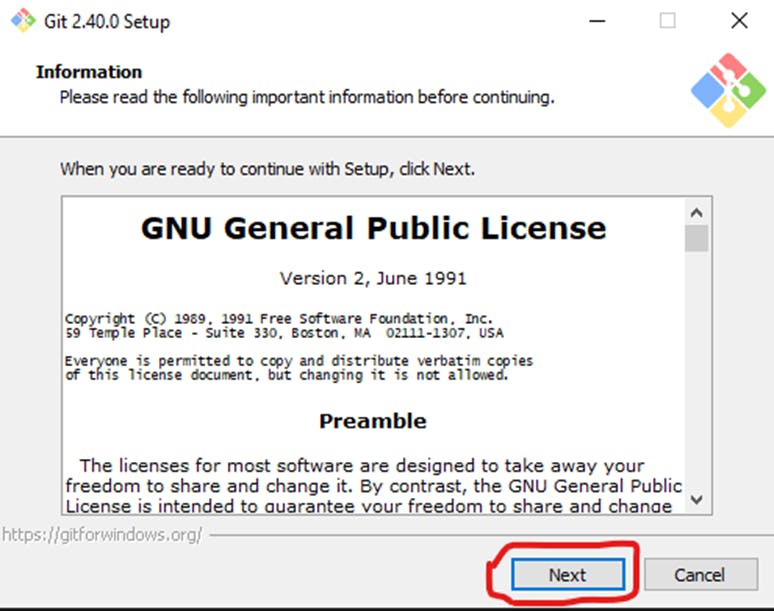
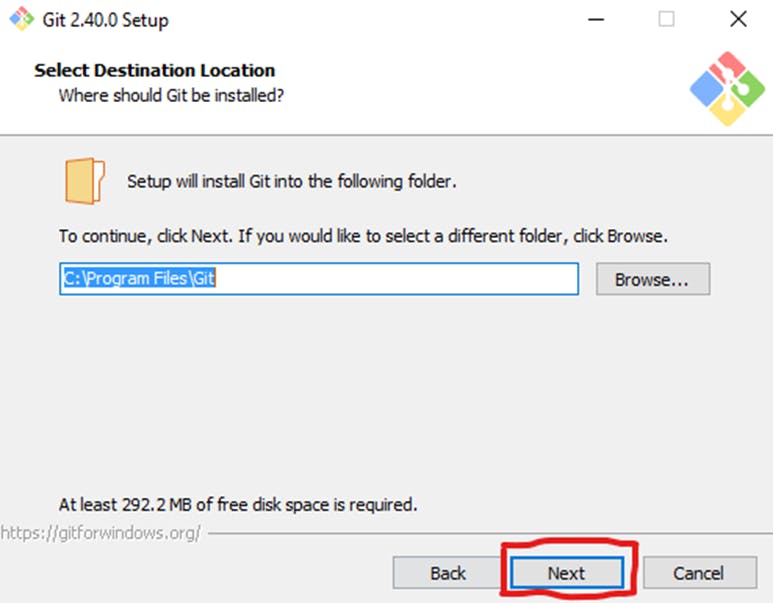
The installer will ask you for an installation location. Leave the default, unless you have reason to change it, and click Next.
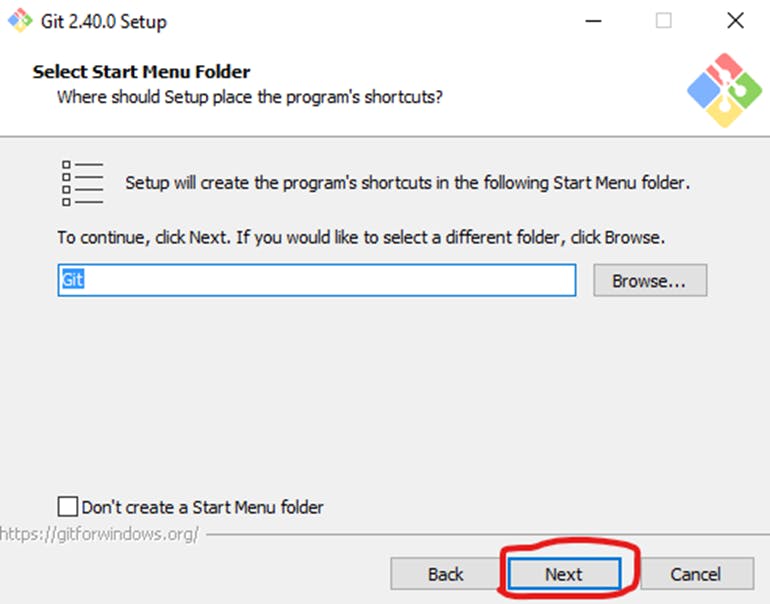
The installer will offer to create a start menu folder. Simply click Next.
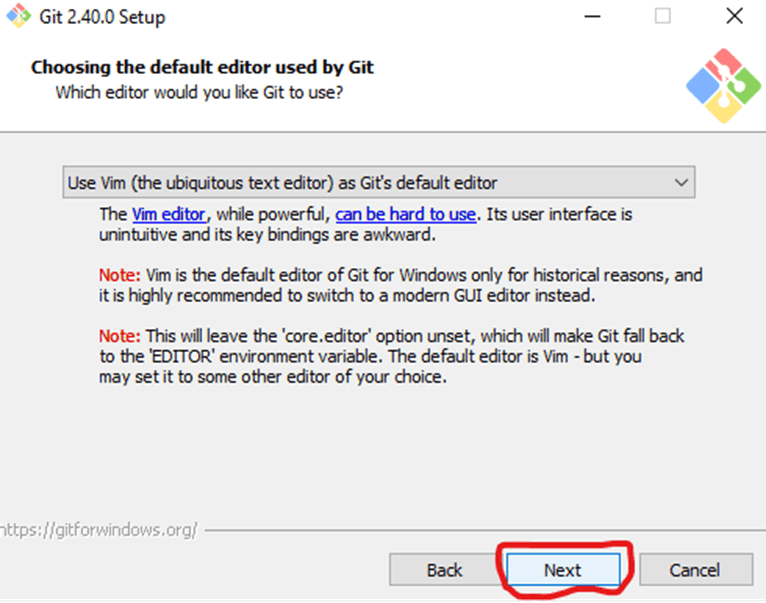
Select a text editor you’d like to use with Git. Use the drop-down menu to select Vim Editor (or whichever text editor you prefer) and click Next.
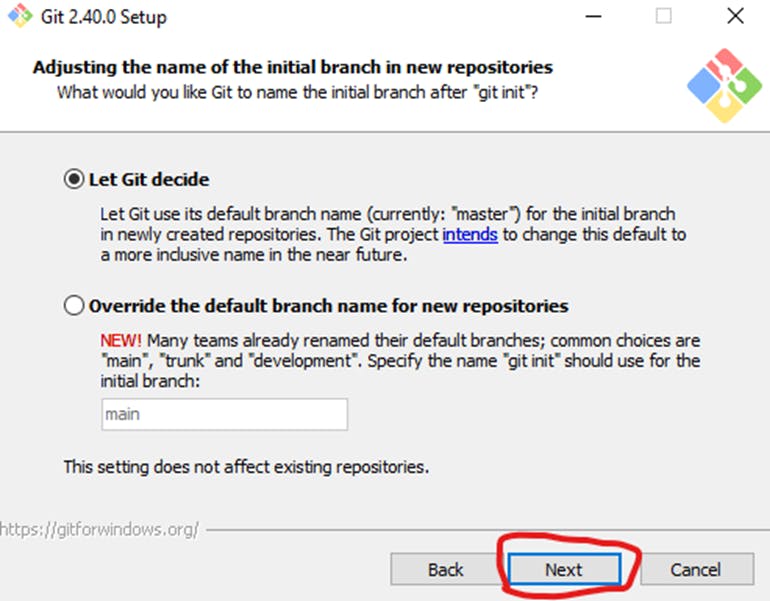
The next step allows you to choose a different name for your initial branch. The default is 'master.' Unless you're working in a team that requires a different name, leave the default option and click Next.
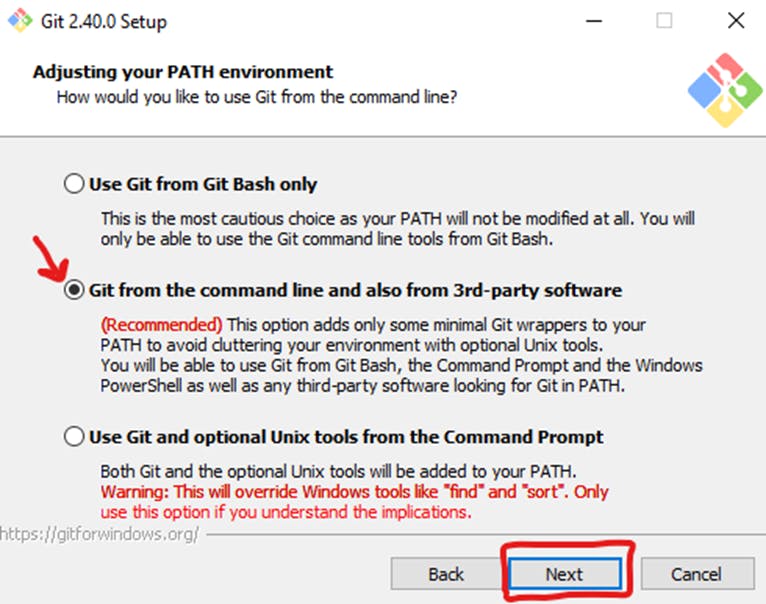
This installation step allows you to change the PATH environment. The PATH is the default set of directories included when you run a command from the command line. Leave this in the middle (recommended) selection and click Next.
The installer now asks which SSH client you want Git to use. Git already comes with its own SSH client, so if you don't need a specific one, leave the default option and click Next.
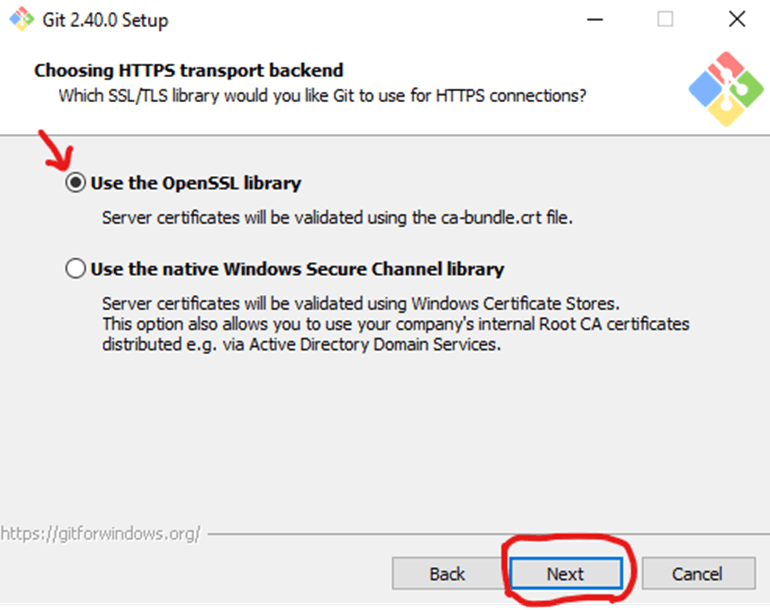
The next option relates to server certificates. Most users should use the default. If you’re working in an Active Directory environment, you may need to switch to Windows Store certificates. Click Next.
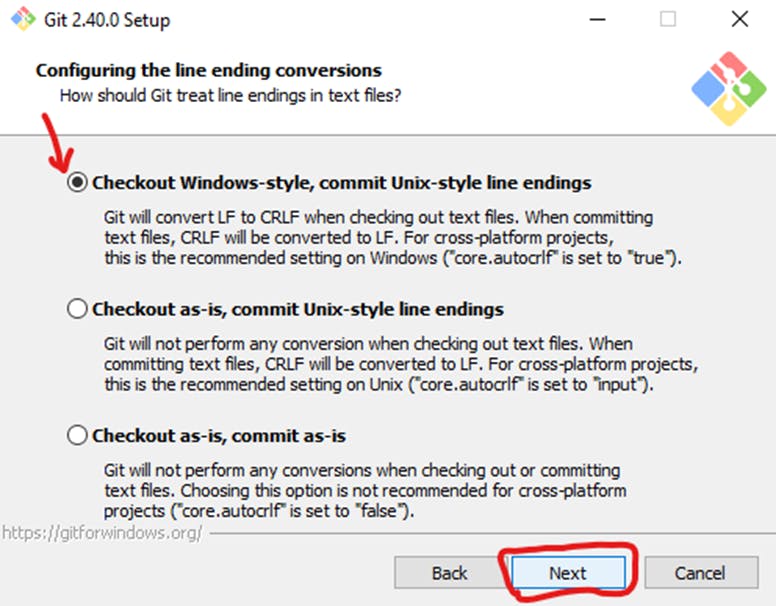
The next selection converts line endings. It is recommended that you leave the default selection. This relates to how data is formatted; changing this option may cause problems. Click Next.
Choose the terminal emulator you want to use. The default MinTTY is recommended, for its features. Click Next.
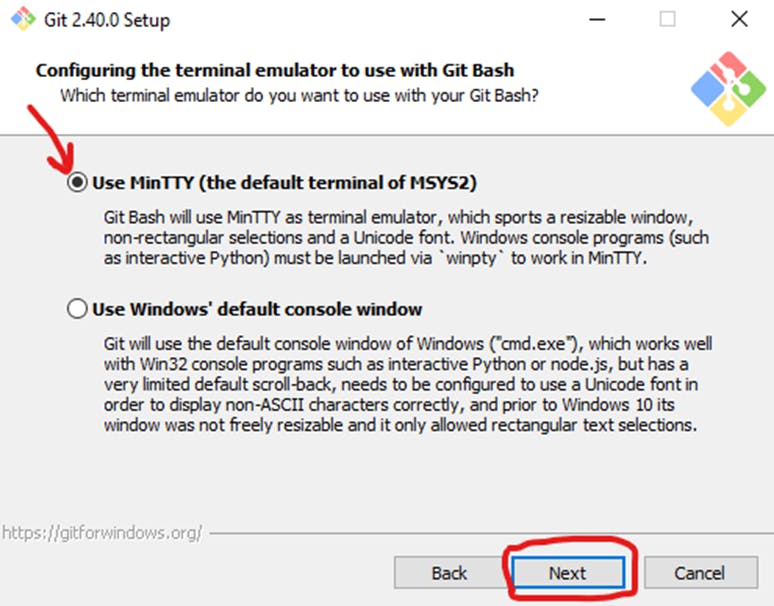
The installer now asks what the
git pullcommand should do. The default option is recommended unless you specifically need to change its behavior. Click Next to continue with the installation.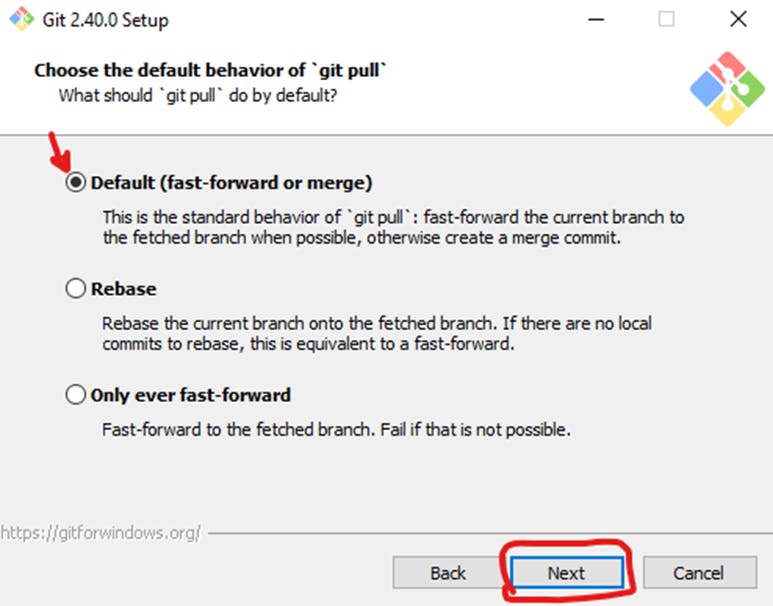
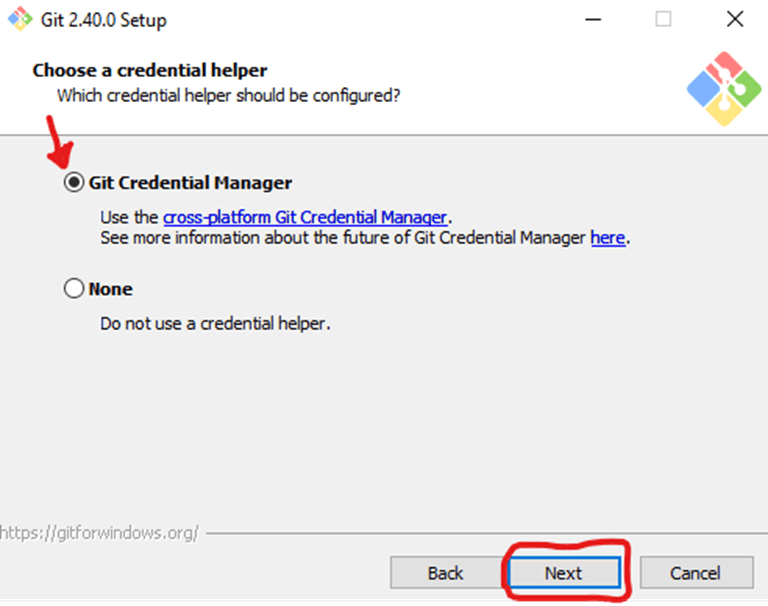
Next, you should choose which credential helper to use. Git uses credential helpers to fetch or save credentials. Leave the default option as it is the most stable one, and click Next.
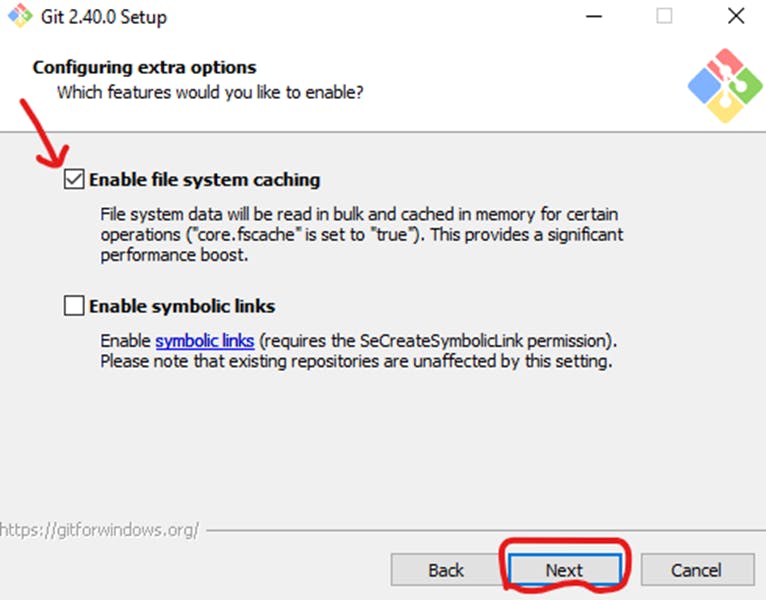
The default options are recommended, however, this step allows you to decide which extra option you would like to enable. If you use symbolic links like shortcuts for the command line, tick the box. Click Next.
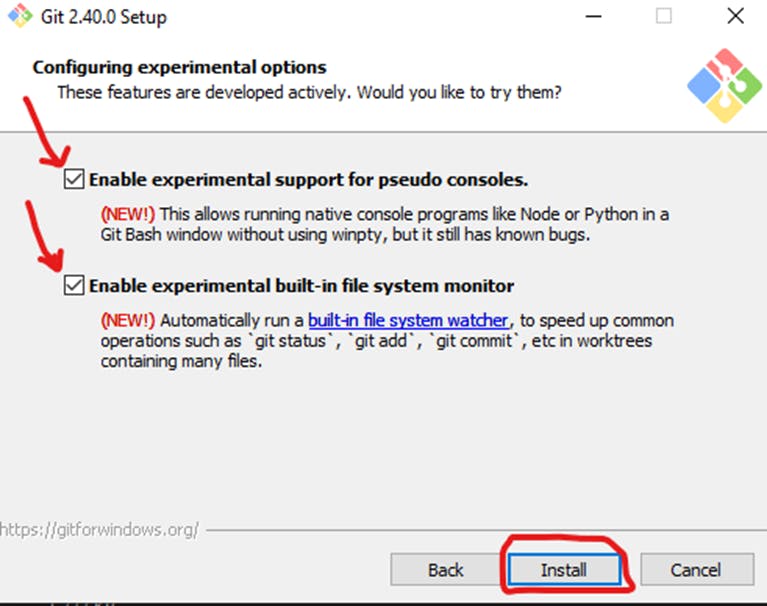
Depending on the version of Git you’re installing, it may offer to install experimental features. At the time this article was written, the options to include support for pseudo controls and a built-in file system monitor were offered. Unless you are feeling adventurous, leave them unchecked and click Install.
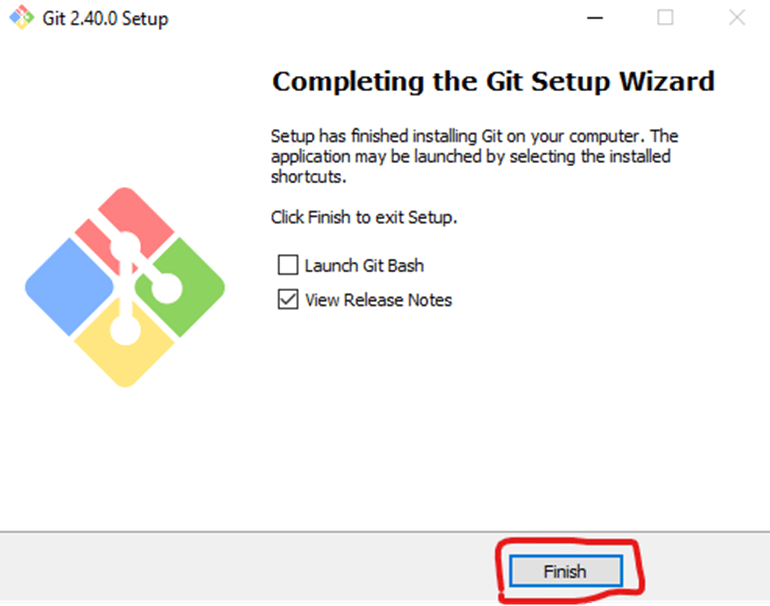
Once the installation is complete, tick the boxes to view the Release Notes or Launch Git Bash, then click Finish.
Git has two modes of use – a bash scripting shell (or command line) and a graphical user interface (GUI).
Launch Git Bash Shell
To launch Git Bash open the Windows Start menu, type git bash and press Enter (or click the application icon).
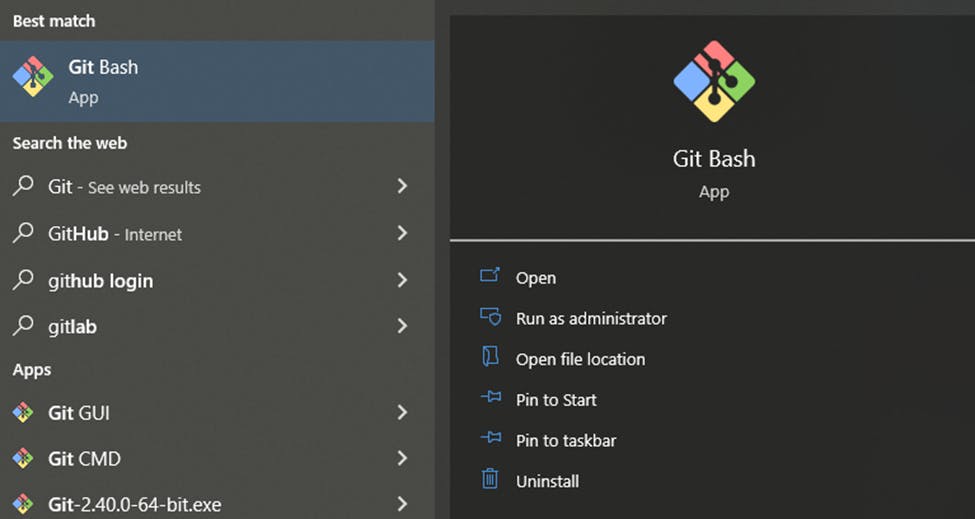
Finally, it is installed on your computer. to check the version of Git.
git --version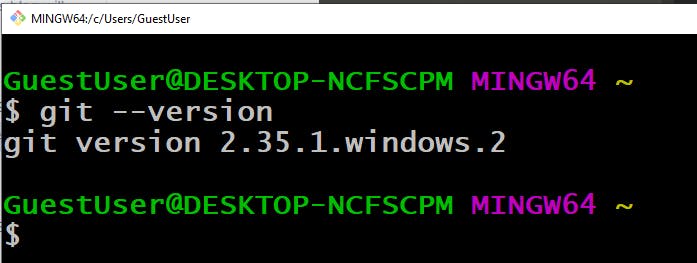
🎉 Task Done👍 Day 08 of #90daysofdevops 💯
In this article, we have covered the Day 08 (Part-1) task what is Git?, Why it is so much important in DevOps? Learned how to install GIT on Windows.
If you enjoyed this article please like it and share it with your friends and colleagues!
Thank you for reading🤓
